Just the other day a package arrived for the boy from his mom. She visited us for Thanksgiving and he was just at her house for Christmas, so this was a bit unexpected. Apparently she's gotten a head start of spring cleaning and decided to send us some things that she thought we'd enjoy for the house. A few knick-knacks, a cool vase, and then this ragged tin with my name on it. Imagine my surprise when I opened it to find this: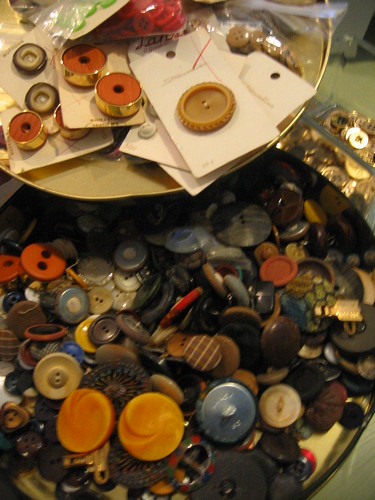
BUTTONS! Lots and lots of buttons!
These buttons are a relic of when the boy's grandma would make cute suits for his mom when she worked at a bank before he was born. And likely many other projects as well. She figured I would give them a good home (and she was definitely right about that!).
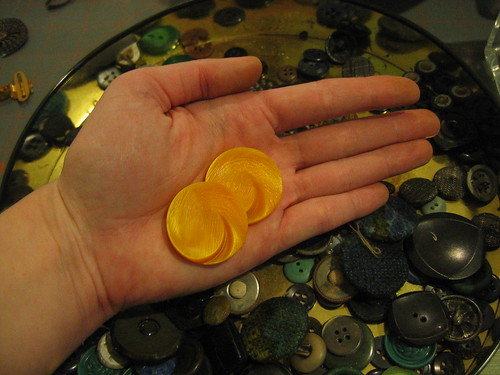
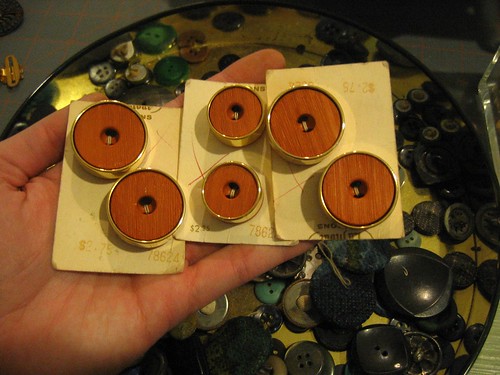
More, you say? Here's a little taste of some of my favorites/the most bold buttons I have ever seen: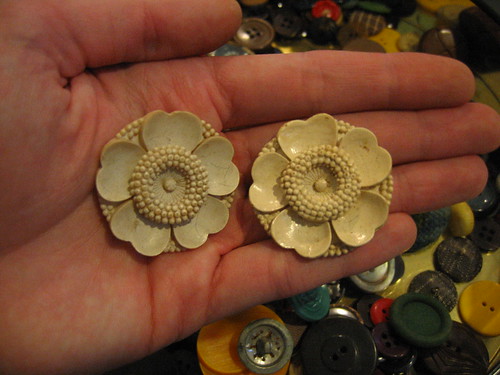
Tuesday, February 24, 2009
Spring cleaning has hidden benefits
Sunday, February 22, 2009
Thursday, February 12, 2009
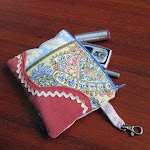
Pattern Review: Amy Butler Frency Bag
In the Christmas rush, I found myself needing one more gift but short on time and ideas, as usual. I dug through my stash of fabric and found something I knew the recipient would love (she a total cat nut) and decided to forgo designing a bag and grabbed my Amy Butler Frenchy Bag pattern. Yes it was dangerous to try something new with no backup plan, but it's Amy Butler so it was practically guaranteed...
The result?
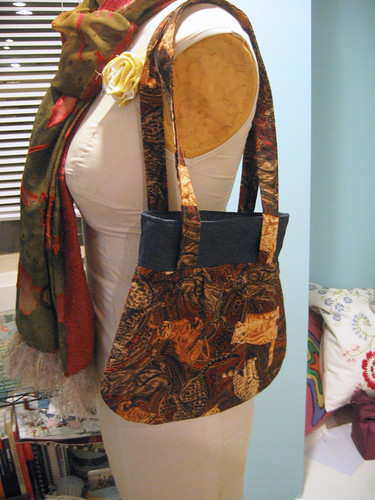
Love it!
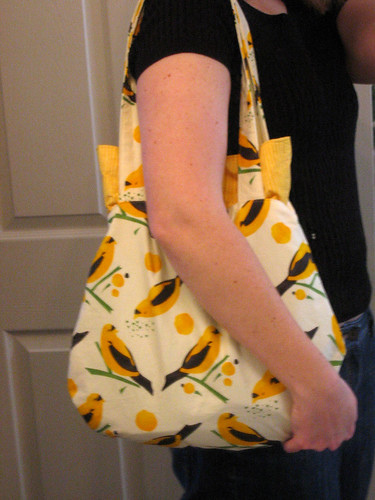
I loved it so much that I whipped up another one a few weeks ago to take on a work trip, and it worked out beautifully (forgive the horrid bathroom mirror photo, please!)
So now it's time for the good, the bad, and the mistakes that I hope you can learn from:
What I liked:
- Um, it was easy. I would totally recommend this one as a first timer bag if you can handle a challenge/have a good teacher. Or if you are feeling lazy and want something cute with minimal effort.
- Pockets! I didn't even know there were pockets inside until I started cutting out, but I did end up making a small change (more on that later).
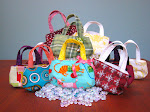
- There are two bag size options, and two handle lengths. I mixed them up a bit, making the small handbag size with long straps for the gift, and the larger bag for myself. I like a big bag (obviously) but not everyone does, so that's a plus.
What I don't know if I like:
- The layout. I totally didn't follow the cutting layout at all because I wanted the interior pockets to be made of the exterior fabric (because I like a bit of cuteness when I look into my bag). So I ignored the cutting layout and just made my own to best utilize my fabric. Therefore I also have no idea if the amounts specified on the pattern are reasonable.
What I didn't like/what I changed:
- I didn't have any sew-in interfacing, so I used fusible. I actually didn't like that so much, so I'd do something different next time (more on that later).
- I sewed a vertical dividing line in the pockets because the are rather large and seemed a bit floppy. Worked out wonderfully and I'd highly recommend it!
- On the bag I made for myself I was using a one-way design and didn't want the birds to be upside down on half of the strap. Instead of cutting them on the fold, I cut the two pieces separately and sewed a seam at the middle so everyone is right side up!
- The last step has you doing some weird topstitching on top of topstitching to keep the lining inside of the bag and not flopping out. This is necessary, but I didn't like the idea of sewing another line on top of a previous one as I knew there was no way I could be that precise and it would look messy.
Instead, I did a littel "stitch-in-the-ditch" on the side seams and augmented with a tiny bit of topstitching on the top panel behind the straps, so it would be hidden when carried:

What I wish I'd done differently:
- Interfacing! I don't really recommend a fusible like I did. Didn't really have the effect I wanted, but it's okay. Personally I don't like really stiff bags, so I would probably go with a sew-in that wasn't too heavy for the body, but the top needs something more.
- Top reinforcement is a top priority (heehee)! The fusible interfacing just didn't cut it. My top is a bit saggy when I carry it, and doesn't really stand up to the magnetic clasp. I'd probably use a mid-weight sew in on both the exterior and "lining" sides of the top (so cut 4 of interfacing instead of 2) to give it the boost it needs.
- Move the magnetic clasp. The pattern has you putting the magnetic clasp right over the seam between the top and bag. That's all well and good, but causes the conflicts with topstitching that bothered me so much. With a reinforced top, you could move the clasp up to the middle of the top part and then have plenty of room for topstitching the exterior and lining together.
- Keeping it all together with topstitching. My mods have worked fine, but ideally I'd want to put a line of topstitching on the top part of the bag right above the seam. Moving the magnetic clasp would mean you don't have to stop your stitching line and leave an unsightly gap in the topstitching.
Clear as mud?
Anyway, this pattern is great if you follow the directions even if I didn't. If you want to make it even better, I encourage you to play with it a bit and I think you will be pleased with the results!
Happy sewing!
Best,
Kim
Subscribe to:
Comments (Atom)