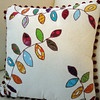
Nothing says cuddly like a kitty on the couch, even if that kitty is a pillow!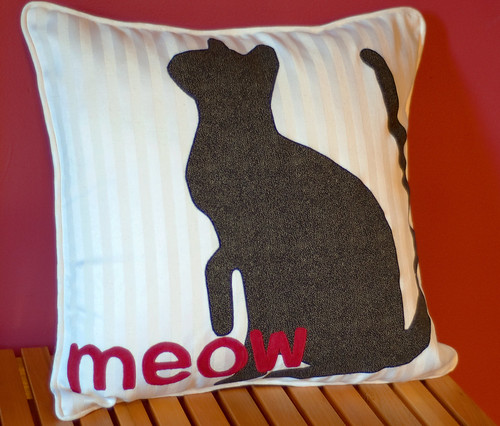
I drew up a diagram so you can make one of these too! Actually, there are a lot of ways you could use this diagram to make this pillow (painting, stenciling, reverse applique, regular applique, silkscreen, etc.) So if you have an idea, download either the regular or reverse diagram (sized for an 18 inch square pillow) and have at it! If you want to make one like mine, keep on reading for both a sew and no-sew version...
Cat pillow diagram
Cat pillow diagram REVERSE
Applique Cat Pillow (Sewing Version)
Supplies:
18 inch pillow form
Fabric:
3/4 yard for background
1/2 yard (or a piece at least 15 inches x 20 inches) for cat
1/4 yard (or a piece at least 4 inches by 12 inches) for letters
fabric as necessary to finish back, make piping, etc. (will vary based on how you finish the pillow)
Supplies:
Sewable Iron-on adhesive (I used HeatnBond Lite)
Coordinating thread
Closures for pillow as desired (buttons, zipper, etc)
Printer, tape, and a pencil
1) Cut 19 inch square from front background fabric.
2) Print out the cat pillow diagram REVERSE. The final pillow is 18 inches square, so you will have to print in sections and tape together. Every printer is different, but you will probably have to set "page scaling" at zero, select "tile pages," and set an overlap, such as 1/2 inch. (If you have troubles, send me a message and I'll try to talk you through it!)
3) Trace the cat onto the paper side of the iron-on adhesive. Cut out leaving a wide border around pencil lines. Repeat for each letter.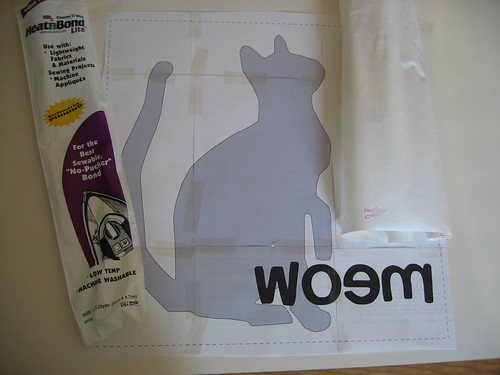
4) Place the traced cat iron-on adhesive on the WRONG side of fabric for cat. Press with iron to activate adhesive as directed on package. (from my package: silk setting, 1-2 seconds) Let cool, and then cut out cat fabric on pencil line.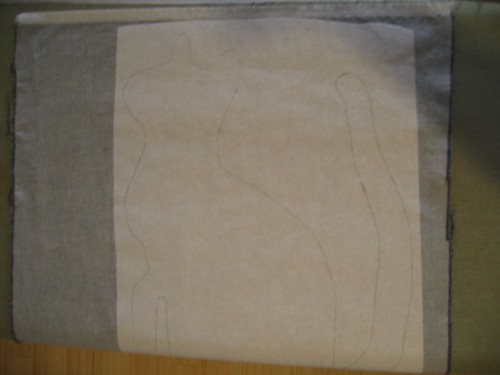
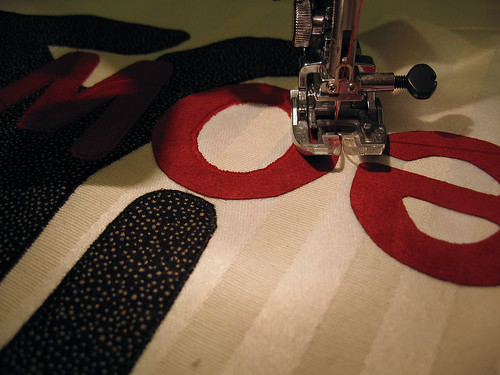
5) Remove paper from cat iron-on. Using diagram as a guide, place cat iron-on on background fabric. Press iron to adhere as directed on package.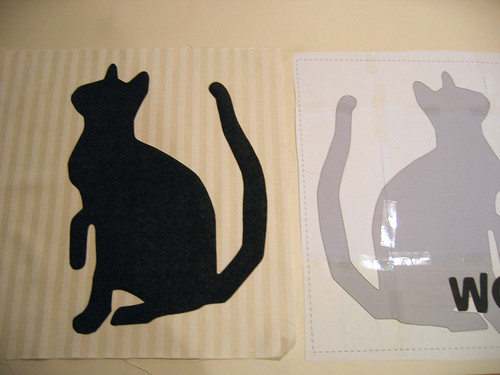
6) Using a small, narrow zigzag stitch, sew around entire applique to seal edges.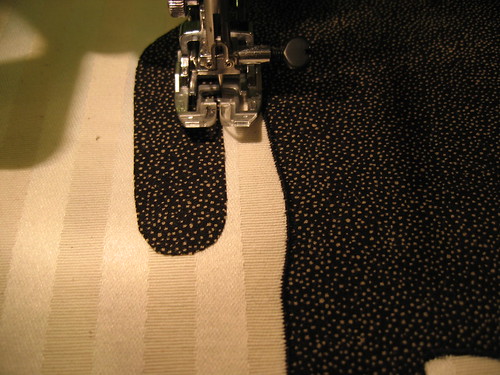
7) Repeat steps 4-6 for the letters.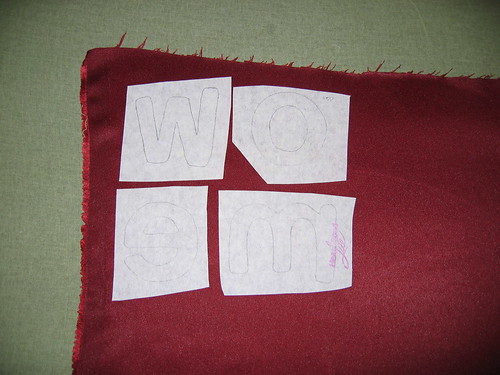
8) Finish the pillow as desired. I listed a few tutorials here. If you want a book, I recommended this oldie but goodie. I finished mine with piping, an overlap and buttons, but you could use a zipper or even sew the entire pillow closed.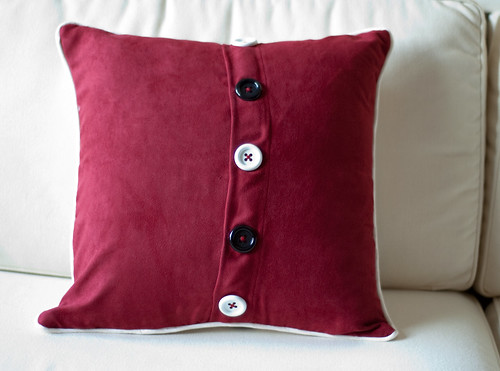
Applique Cat Pillow (No-Sew Version)
Fabric:
1/2 yard (or a piece at least 15 inches x 20 inches) for cat
1/4 yard (or a piece at least 4 inches by 12 inches) for letters
Supplies:
Finished 18 inch pillow with removable form (check that the fabric is able to be ironed at medium heat)
No-Sew Iron-on Adhesive (I like HeatnBond Ultra)
1) Remove form from pillow.
2) Follow steps 2-5 above to print out diagram, trace cat on to iron-on adhesive, attach iron-on adhesive to fabric, and then attach cat iron-on to pillow case. Repeat with letters.
2) Reinsert form. Done!
Thursday, September 23, 2010
The pillow says "meow" (tutorial)
Subscribe to:
Post Comments (Atom)


thank you SO much for this!!! it is PRECISELY what I needed for the center of a small cat-theme wall-hanging I thought of making last night for dear friends of ours... the husband has cancer & they both adore cats!
ReplyDeleteit will work for this better than the [very cute] 1930's kitten in a basket applique design I have... THANK YOU!!!