Nothing says cuddly like a kitty on the couch, even if that kitty is a pillow!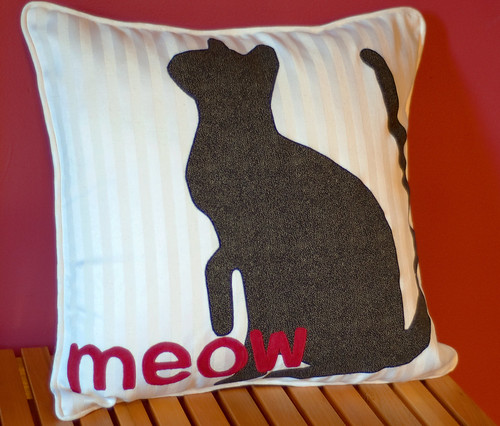
I drew up a diagram so you can make one of these too! Actually, there are a lot of ways you could use this diagram to make this pillow (painting, stenciling, reverse applique, regular applique, silkscreen, etc.) So if you have an idea, download either the regular or reverse diagram (sized for an 18 inch square pillow) and have at it! If you want to make one like mine, keep on reading for both a sew and no-sew version...
Cat pillow diagram
Cat pillow diagram REVERSE
Applique Cat Pillow (Sewing Version)
Supplies:
18 inch pillow form
Fabric:
3/4 yard for background
1/2 yard (or a piece at least 15 inches x 20 inches) for cat
1/4 yard (or a piece at least 4 inches by 12 inches) for letters
fabric as necessary to finish back, make piping, etc. (will vary based on how you finish the pillow)
Supplies:
Sewable Iron-on adhesive (I used HeatnBond Lite)
Coordinating thread
Closures for pillow as desired (buttons, zipper, etc)
Printer, tape, and a pencil
1) Cut 19 inch square from front background fabric.
2) Print out the cat pillow diagram REVERSE. The final pillow is 18 inches square, so you will have to print in sections and tape together. Every printer is different, but you will probably have to set "page scaling" at zero, select "tile pages," and set an overlap, such as 1/2 inch. (If you have troubles, send me a message and I'll try to talk you through it!)
3) Trace the cat onto the paper side of the iron-on adhesive. Cut out leaving a wide border around pencil lines. Repeat for each letter.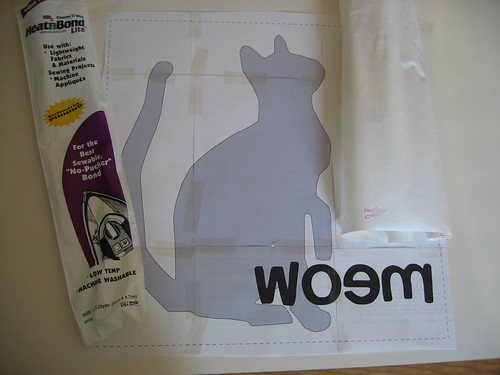
4) Place the traced cat iron-on adhesive on the WRONG side of fabric for cat. Press with iron to activate adhesive as directed on package. (from my package: silk setting, 1-2 seconds) Let cool, and then cut out cat fabric on pencil line.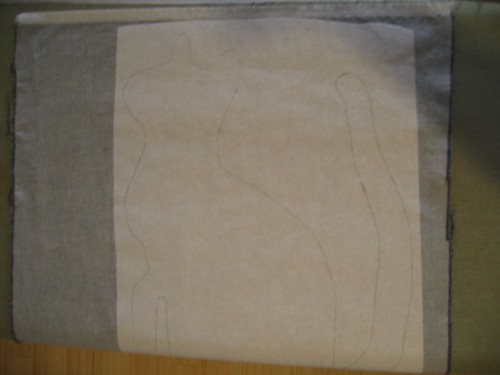
5) Remove paper from cat iron-on. Using diagram as a guide, place cat iron-on on background fabric. Press iron to adhere as directed on package.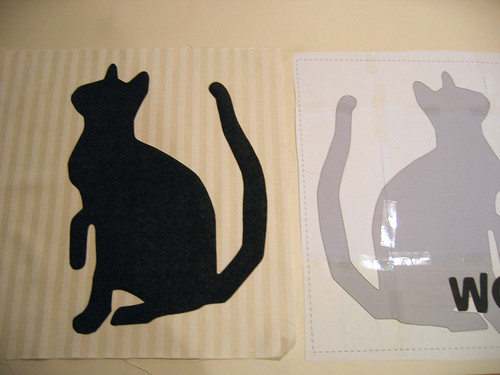
6) Using a small, narrow zigzag stitch, sew around entire applique to seal edges.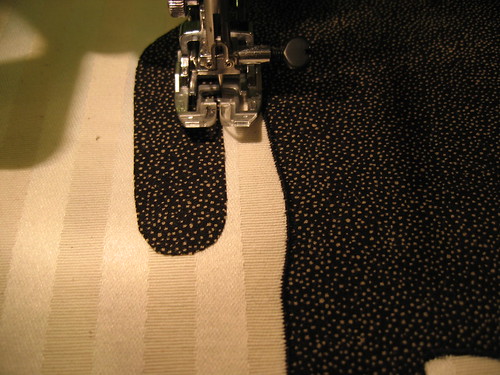
7) Repeat steps 4-6 for the letters.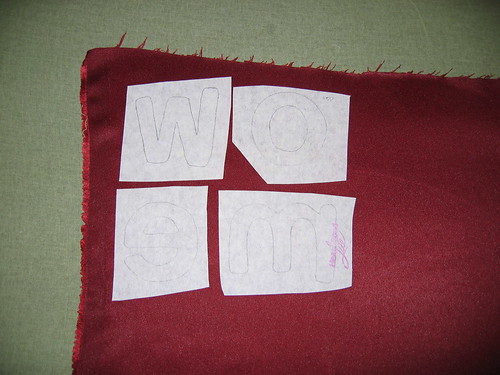
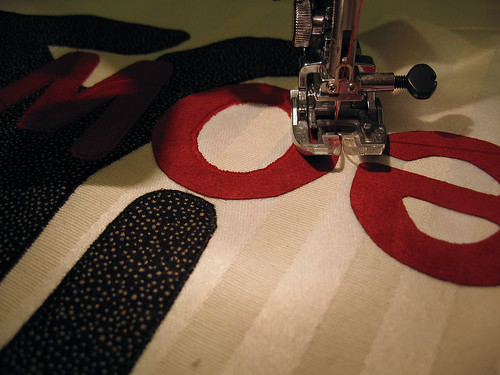
8) Finish the pillow as desired. I listed a few tutorials here. If you want a book, I recommended this oldie but goodie. I finished mine with piping, an overlap and buttons, but you could use a zipper or even sew the entire pillow closed.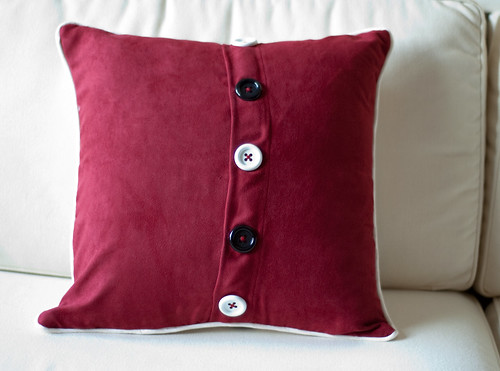
Applique Cat Pillow (No-Sew Version)
Fabric:
1/2 yard (or a piece at least 15 inches x 20 inches) for cat
1/4 yard (or a piece at least 4 inches by 12 inches) for letters
Supplies:
Finished 18 inch pillow with removable form (check that the fabric is able to be ironed at medium heat)
No-Sew Iron-on Adhesive (I like HeatnBond Ultra)
1) Remove form from pillow.
2) Follow steps 2-5 above to print out diagram, trace cat on to iron-on adhesive, attach iron-on adhesive to fabric, and then attach cat iron-on to pillow case. Repeat with letters.
2) Reinsert form. Done!
Thursday, September 23, 2010
The pillow says "meow" (tutorial)
Labels:
instructions,
sewing projects
Wednesday, September 8, 2010
Registry Schmedistry
While I haven't done a formal study of this topic, I'd be willing to bet that if you were to query my friends and family, they would unanimously label me as "the one who never buys our registries." Is that bad? Is there a special sort of hatred that is saved for gift-givers like me that ignore the registry? What if I promise to never ever buy something random that you will probably have to return but instead make you something (that will probably live in the closet until come to visit)?
So...? Am I still invited to the party? It's the thought that counts, right?
I don't have anything against registries, in theory. I think they are useful for people that want to give a gift but want to ensure the receiver loves it. Personally I find it a bit weird to tell people what to buy me, but the word on the street is that regstries=good. Yet when I'm putting together a gift, all the registry says to me is...BORING! Buying sheets for my dear friend's wedding shower? Uh, skeevy. Baby wipes? Not cute (Useful, yes. But not cute). And watching said registry gifts be unwrapped at a party? Hello, I already know what you were getting because I looked at your registry! (but thanks for inviting me, the cupcakes are fab...)
So this brings me back to the dilemma I faced for a friend's bridal shower. I know she needs a lot of the things on her registry as she and her fiance have just finished school. I had resigned myself to buying a few things off the registry but I really wanted to make her something that would make her say "aww, Kimmy made this for me" whenever she saw it. Narcissistic? Maybe. But that is neither here nor there...
Fortunately for me, there was a little note tucked in the shower invitation that highlighted some of my friend's favorite things and decor selections. A few popped out at me as inspiration--cats, black and red--and this is what came of it:
Cute, no? I liked it so much I made one for myself:
You want one too, you say? Hang tight, my dears, it's coming soon!
Labels:
decorating,
sewing projects
Subscribe to:
Comments (Atom)


